
Aurvana In-Ear 3 Plus Headphones Creative Labs Price: $70 US Creative’s Aurvana In-Ear 3 Plus Headphones produce sound so luminous and detailed the experience left
Read More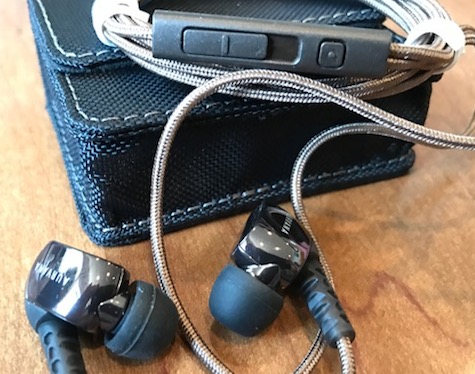
Aurvana In-Ear 3 Plus Headphones Creative Labs Price: $70 US Creative’s Aurvana In-Ear 3 Plus Headphones produce sound so luminous and detailed the experience left
Read More
Muvo 2c Wireless Bluetooth Speaker Company: Creative Labs $50 US Creative’s new Muvo 2c is a colorful Bluetooth speaker with a water resistant, rubberized exterior.
Read More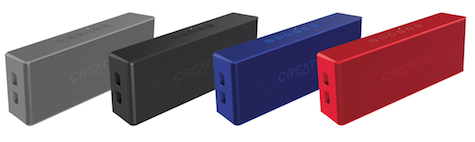
Creative MUVO 2 Bluetooth Wireless Speaker Creative Labs Price $80 U.S. The Muvo 2 is a portable Bluetooth speaker with a small footprint and
Read More
Revogi Bluetooth Smart Lightbulb and Smart Color Lightstrip Revogi U.S. Price: $32 (bulb) or $38 (lightstrip) — Prices vary Revogi produces colorful lights
Read More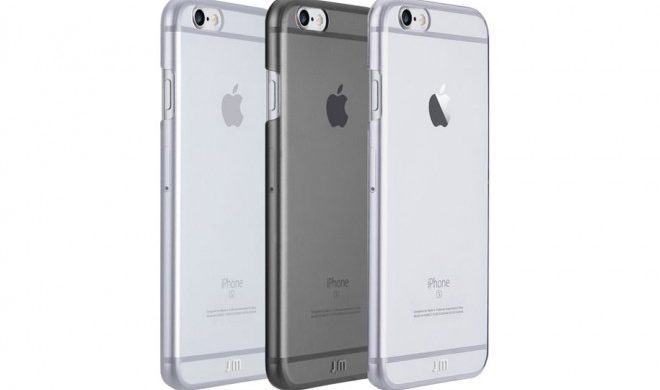
TENC for iPhone 7 Plus and iPhone 7 Just Mobile Price $25 U.S. TENC is a clear and durable case for the iPhone
Read More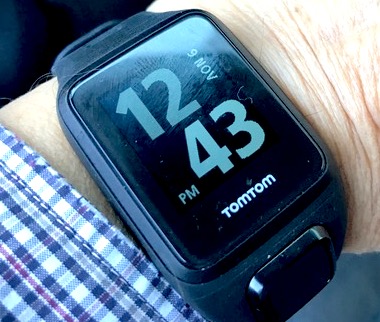
TomTom Spark 3 GPS Fitness Watch TomTom Price $249 U.S. The Spark 3, like its predecessors in TomTom’s lineup of sports-oriented fitness watches, enables
Read More
Adjustable Cupholder Mount for Smart Phones Macally Price: $25 U.S. Stuff has a way of piling up. The passenger seat in my small car
Read More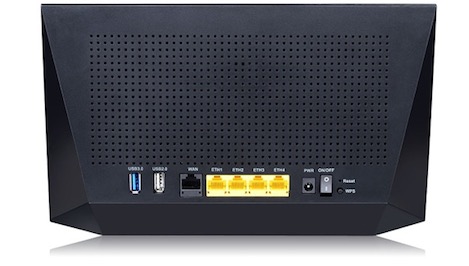
Kasda KA1900 Dual-Band Wireless-AC1900 Gigabit Router Kasda Networks Price: $106 U.S. Wireless routers, the electronic traffic cops that send an Internet signal from your
Read More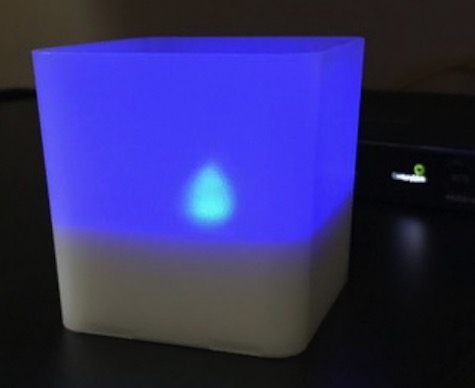
Smart Candle Light Revogi Price: $16 U. S. If you’re looking for an unusual stocking stuffer for your favorite geek, here it is: a
Read More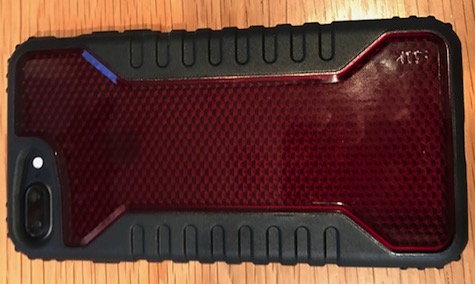
Silk Armor Tough Case for iPhone 7 Plus Silk Innovation Price: $25 U. S. The Silk Armor case for the iPhone 7 Plus
Read More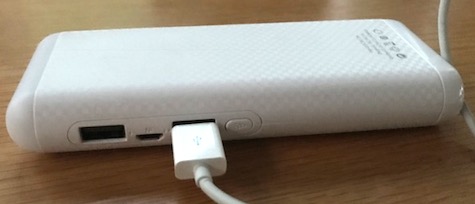
Lighthouse External Backup Power Pack Lifecharge $50 U.S. The Lifecharge Lighthouse is a portable power supply that can recharge two devices at once. Its
Read More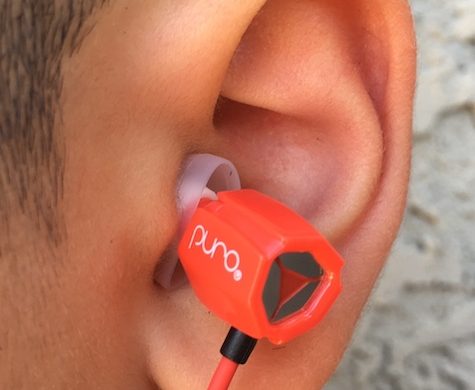
IEM200 Studio Grade In-Ear Headphones Puro Sound Labs Price: $30 (Free shipping in the U.S.) In-ear earphones, used judiciously, can provide an immensely
Read More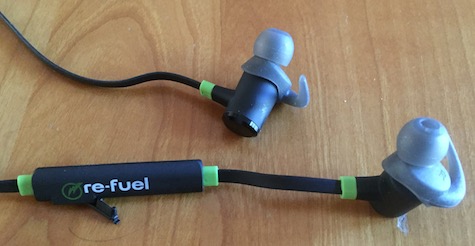
re-fuel High Performance Sports Wireless Earbuds Digipower Price: $100 U.S. All earbuds are not created equal. The audio market is flooded with adequate Bluetooth
Read More
LifeActiv Belt Clip with Quiuckmount Lifeproof $30.00 (less at other websites) The LifeActiv quickmount and belt clip enables users to carry a smartphone attached
Read More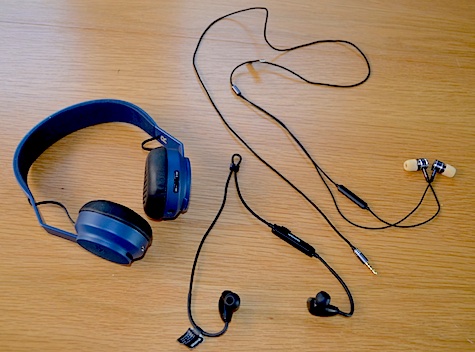
Are Bluetooth headphones superior to wired ones for outdoor sports? Until recently I was convinced Bluetooth earphones were one of the best accessories
Read More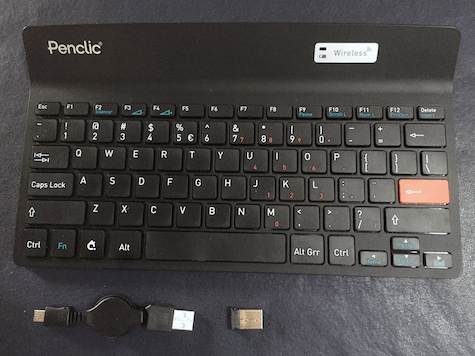
Mini Keyboard K2 Penclic Internet Price: $55 U.S. The Penclic Mini Keyboard K2 is a wireless keyboard the size of Apple’s smallest Bluetooth keyboard. The
Read More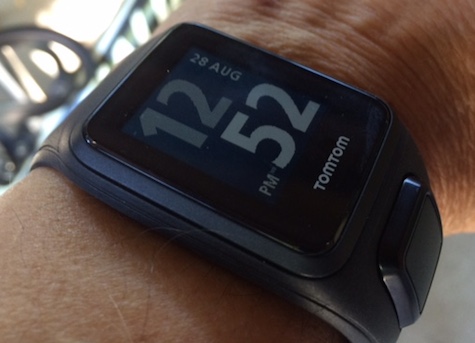
TomTom Spark Cardio + Music TomTom Price: $200 U.S. Available in three colors. Check Internet and retail pricing for discounts. In the crowded category of
Read More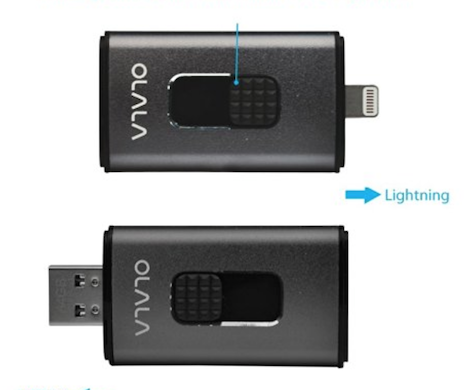
Olala 64GB iDisk Mobile Memory Olala Gadgets Price: $43 U.S. Smart phones make it easy to take pictures. As a result, many people end
Read More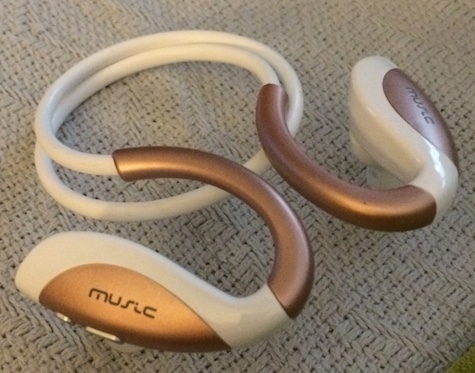
H5 Wireless Stereo Earbuds Darkiron Direct H5 wireless earbuds Price: $28 U.S. The H5 Wireless Earbuds deliver clear audio and twelve hours of
Read More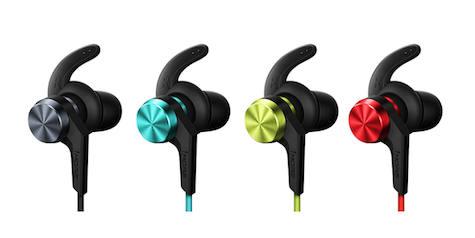
iBFree Bluetooth In-ear Headphones 1More Price: $60 U.S. Available in four colors Use this code to get special pricing from the company: IBFSpecial Crystal clear audio
Read More