
Araelium’s Screenflick screen Recording application
Price: $35
Araelium Software provided this product for the purpose of this review. Tested on a M1 Mac Mini.
A lot of people may want a screen recording application, but the relatively high cost and extreme learning curve may have prevented them from getting what can be very useful software. Araelium Software may have the solution for you. Most of the other (granted) more fully featured screen capture applications are practically full fledged video editors and that’s a plus in their favor, but that also adds a lot of complications to what should be a simple task. Screenflick takes a different approach by being a simple to use screen capture application, but with a few very interesting tricks up its sleeve.
Before we begin, let’s jump to what Screenflick isn’t. It’s not a video editor beyond some basic cropping features and if that’s what you want or need, be prepared to easily spend well over $100 a year for some of their competitors. On the opposite side (namely…free), there’s QuickTime which can provide bare bones screen recording, but not much else. Screenflick fits in between these.
Once you have the program running, you should open its “Preferences” window to make some basic choices on how you want to work with the program. While most of the choices are purely aesthetic, some can be very important.
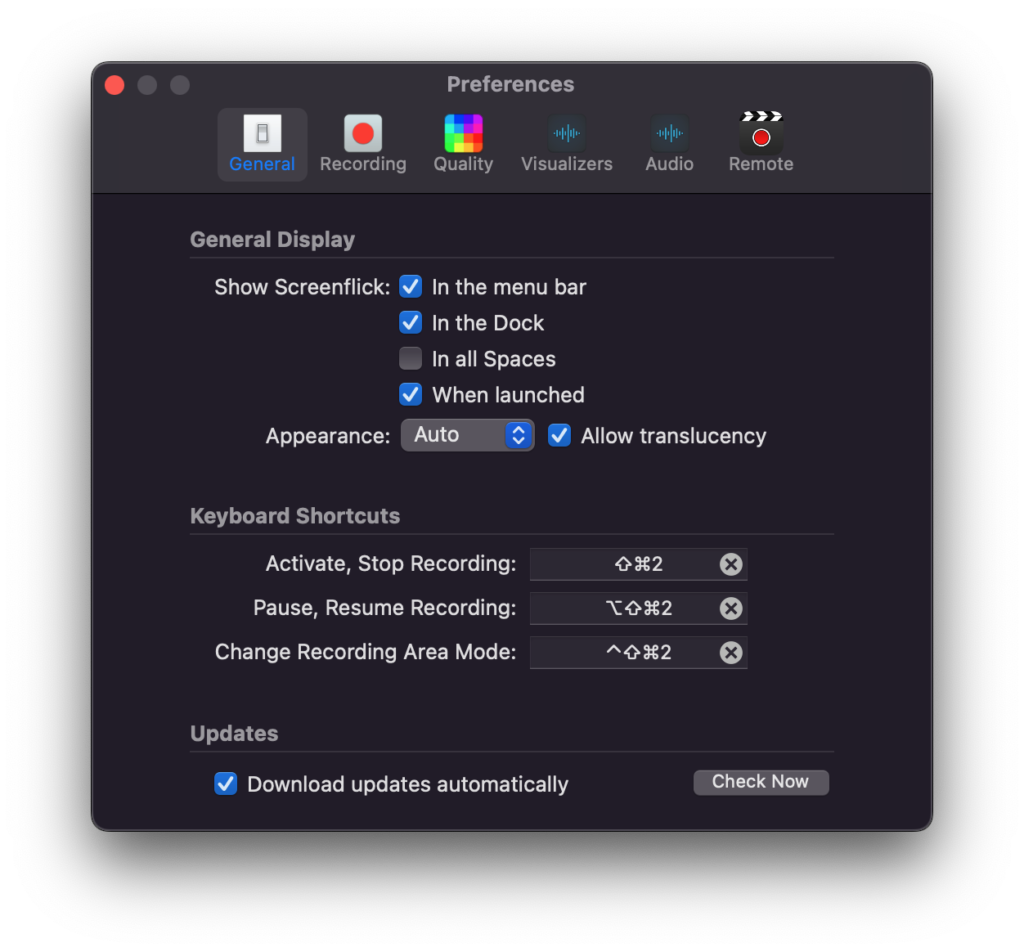
Under General Preferences you can select where you want the program to appear (including in Spaces which I don’t recall seeing in many applications), keyboard shortcuts, and automatic updates.
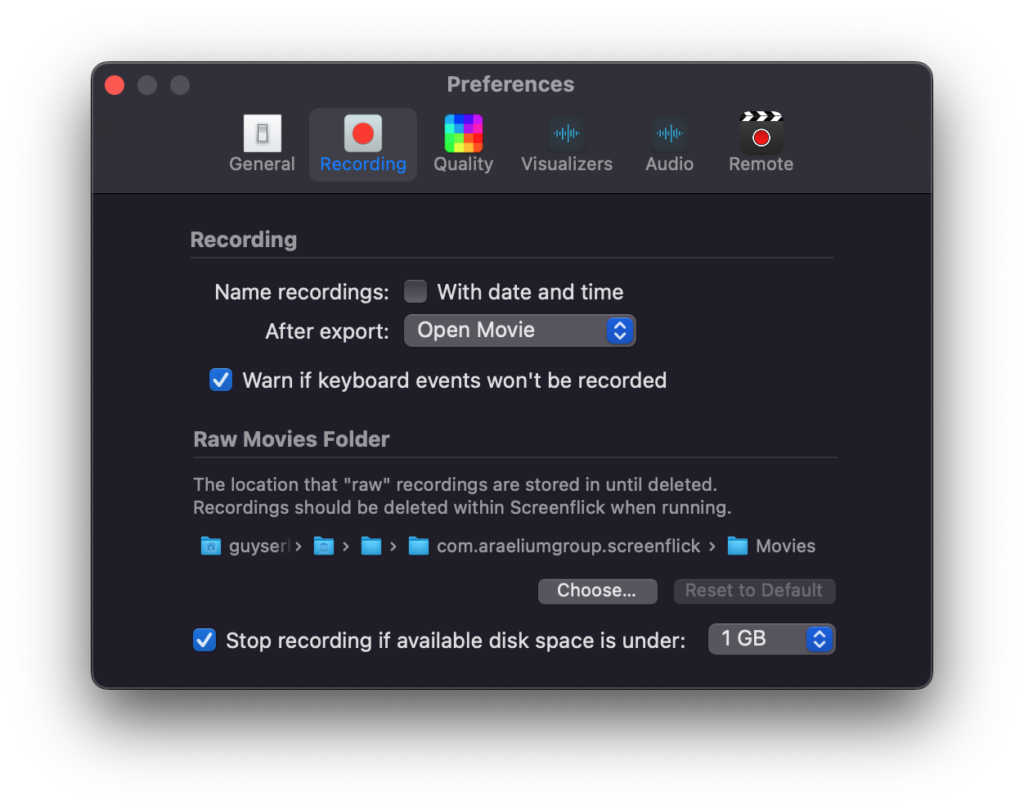
Here you can select a few presets for recording such as name, whether you want the date or time to be part of the file name, and where the records will be stored.

The selections here include video quality and an option for lossless audio. Obviously the higher the video and audio quality you select, the bigger the file sizes will be.
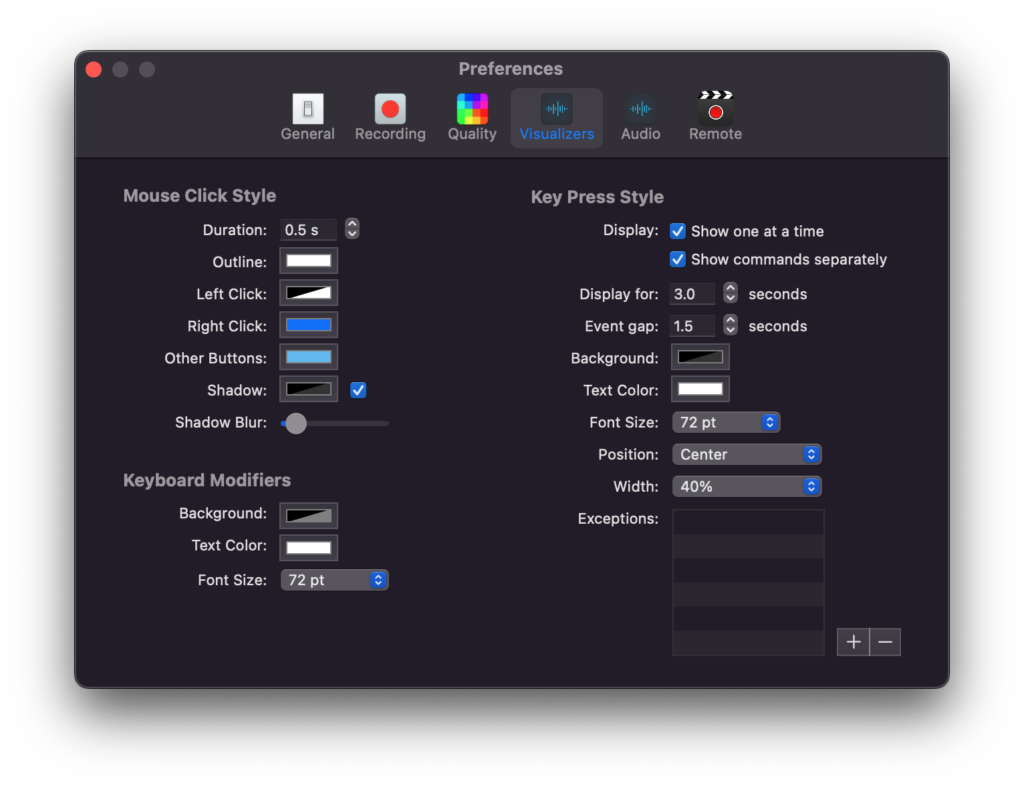
If you decide to show the mouse or keyboard commands in your screen capture, this is where you can make some default choices. You aren’t locked into those choices here though and can make changes even after the recording is made and those changes will be reflected in the screen capture you’re editing
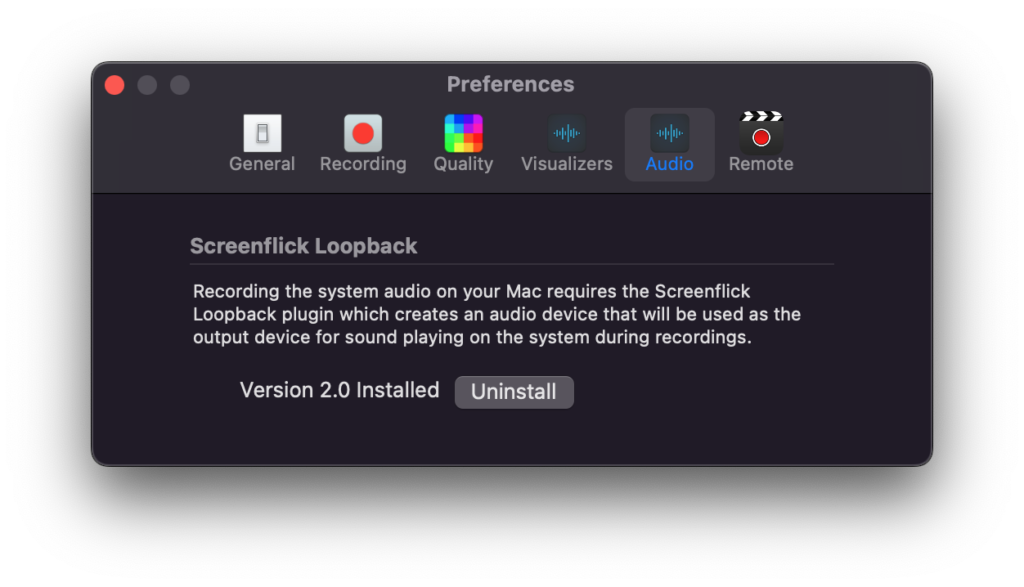
Well, kinda like the screen says, this creates an audio device that you can use while recording. What did you expect? A pizza?
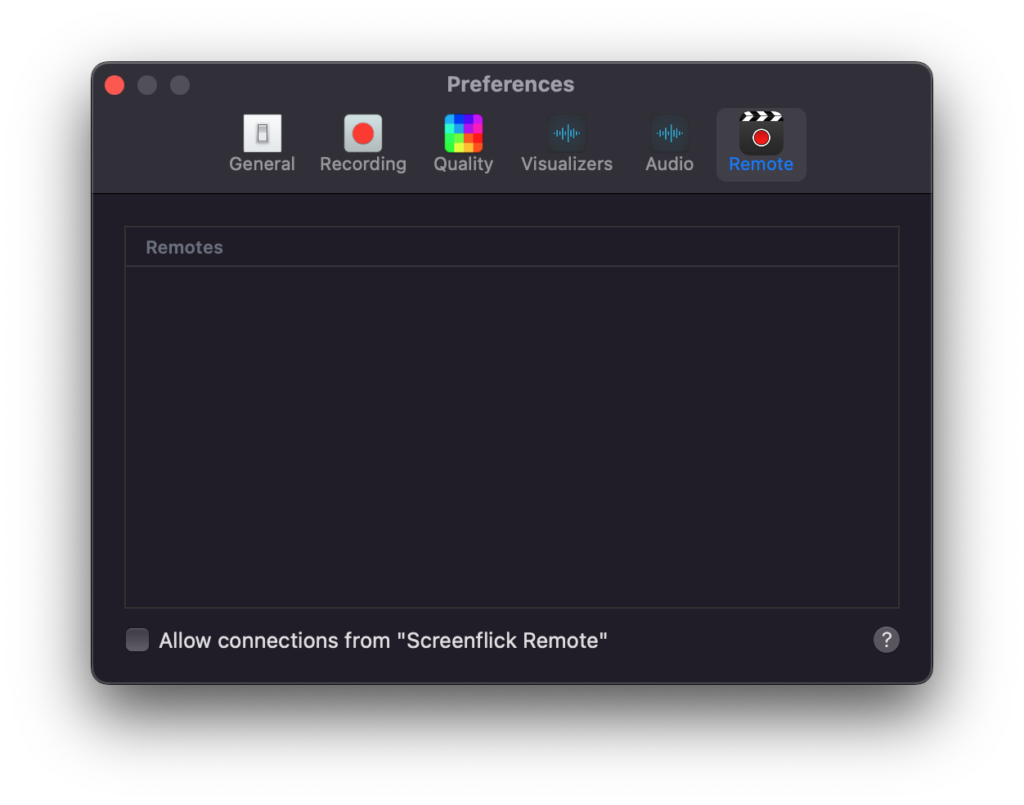
It allows other Macs or iOS devices to remotely control Screenflick running on a different Mac through WiFi. You can start, stop, pause, and resume remotely.
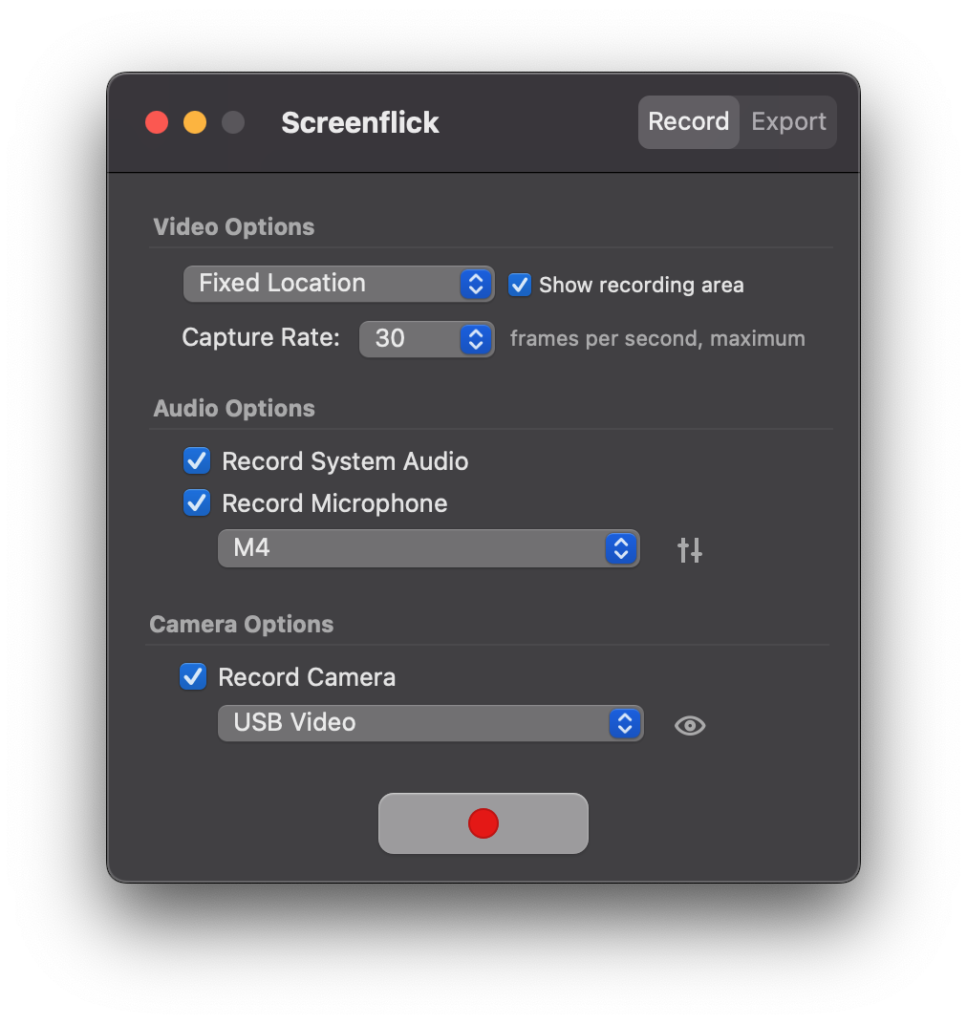
Once you’ve made your preferences selections, this is the first window that you’ll see. From here you have a few decisions to make such as whether you want a fixed window for recording or having the cursor followed. There are three options for following the cursor including one that will jump to another monitor if it strays close to your monitor’s border. You can choose how many frames a second you want to record along with the size of the window or screen you are going to record which will have a big impact of the size of the file generated.
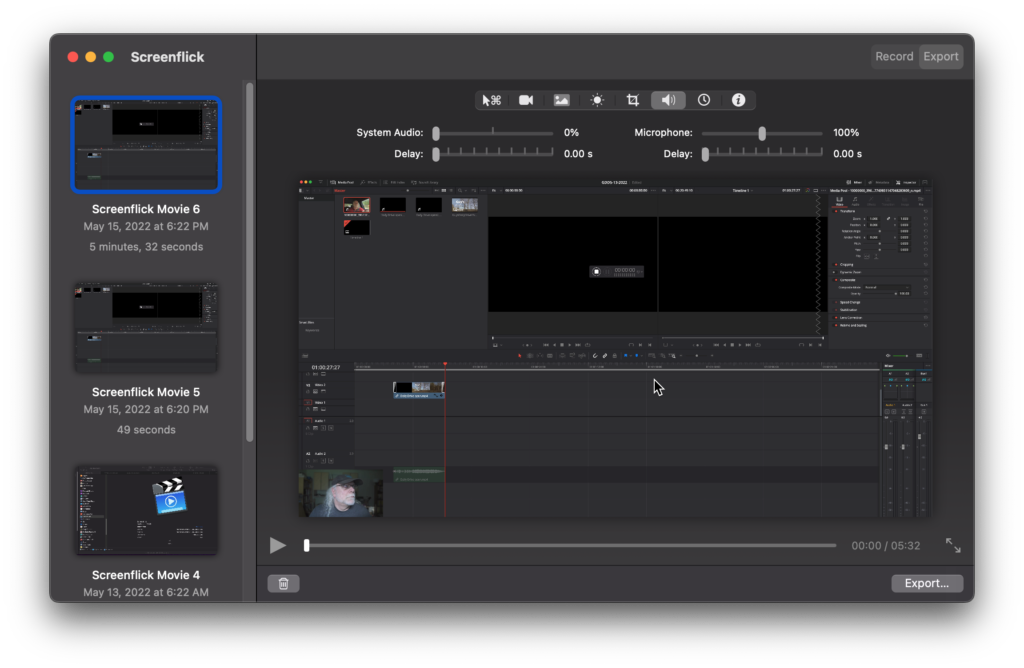
Under Audio options you can record System Audio by clicking the “Record System Audio” checkbox (no kidding) as well as select which audio source you want to use for yourself. If you plan to record your own webcam, you can select that under camera options. If you think you might want to, go ahead and check it as you can change your mind about it later. There’s also the “Export” tab which we’ll go into further detail later in the review. To select the screen size of monitor to record, hit the big red “Start Recording” button in the Record/Export window. This will bring up the controls for selecting the screen size and a few other options for recording.
This is where you decide just how much or little of the screen you want to record. Full screen is an option as is a variety of presets and aspect ratios. One odd thing I found was that there was no setting for capturing an individual window though you can drag and drop an area corresponding to that window…just don’t move it after its set. At this point, hit the Record button and Screenflick will do the rest. Record as long as you like, just keep in mind that the file size for your recording isn’t getting any smaller.

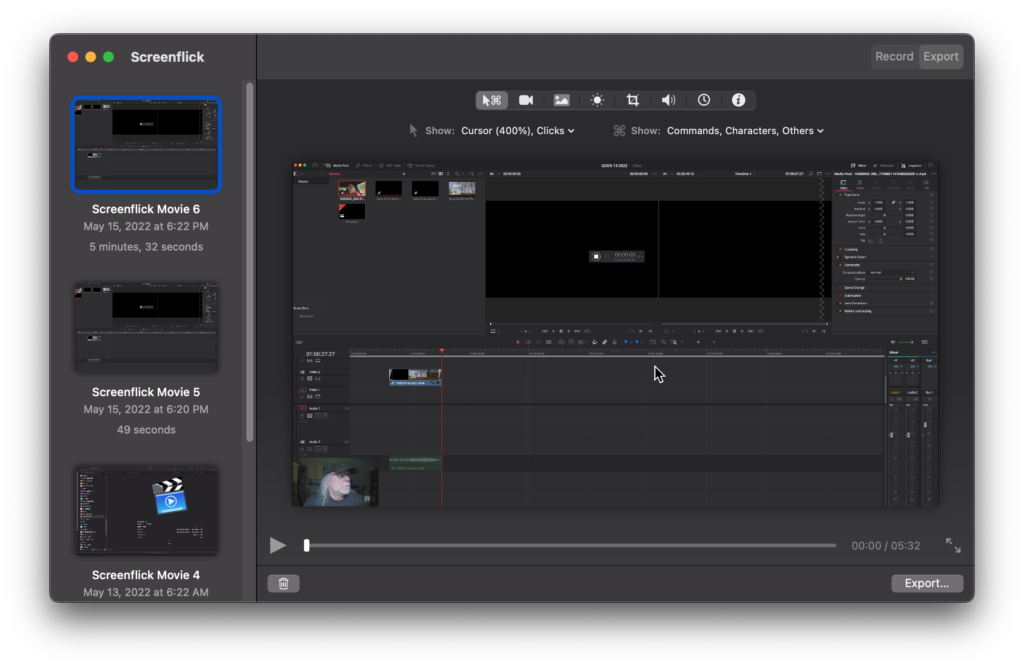
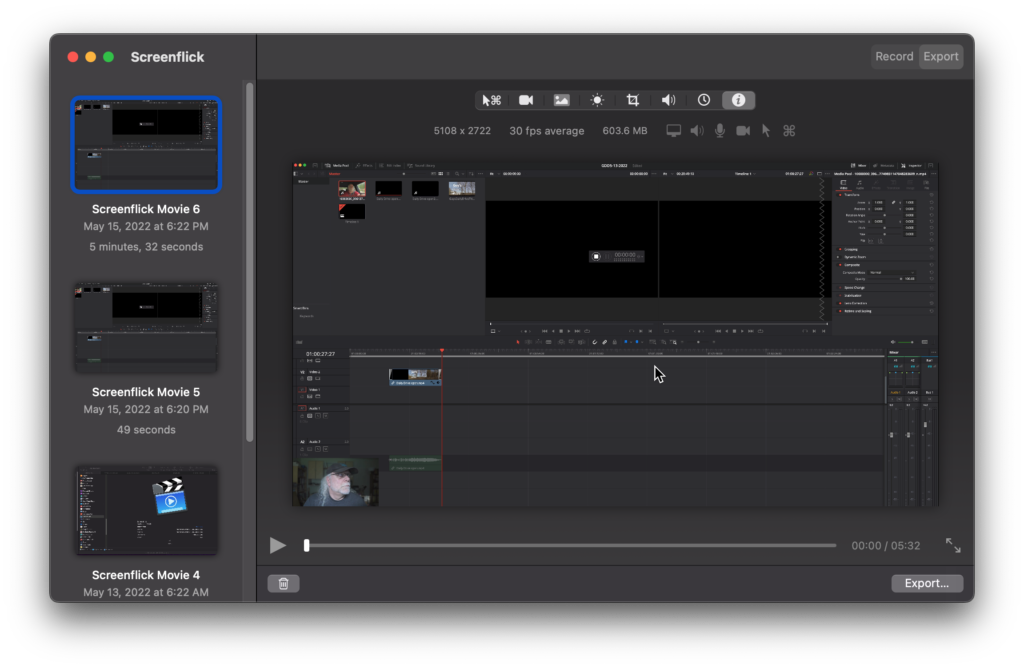
Once you’ve finished recording, this is where Screenflick starts to shine…kind of. As I said earlier, if you’re looking for an all-in-one solution for creating and fully editing a screen recording, Screenflick is not what you’re looking for. There are other programs that will do that, at a MUCH higher cost. If you know your way around a movie editor and already have one you like, using Screenflick can save you a lot of money.
Alright, you captured the screen actions you want, the next thing to do is to edit and enhance. As previously stated, all the tricks more expensive capture programs do isn’t going to fly here, but Screenflick still can still do some great things in post. Remember that nearly everything you may want to add is already there, recorded at the time you made the screen capture. You just have to decide which elements you want.
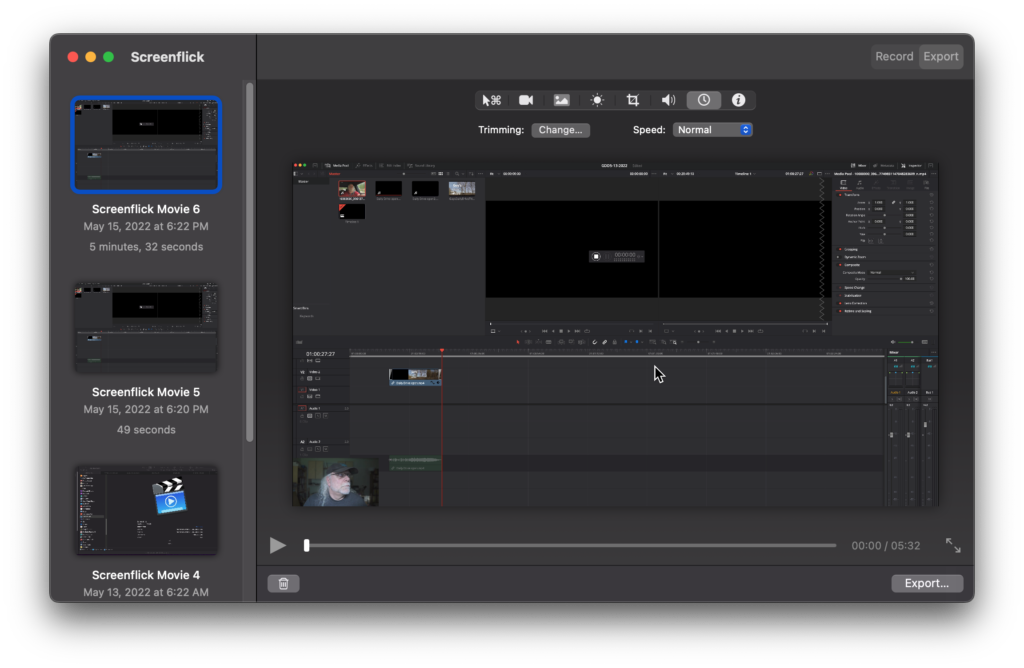
You can adjust the cursor (mouse) size and the size and placement of keyboard commands (or even if you want them or not) in this window, both is post.
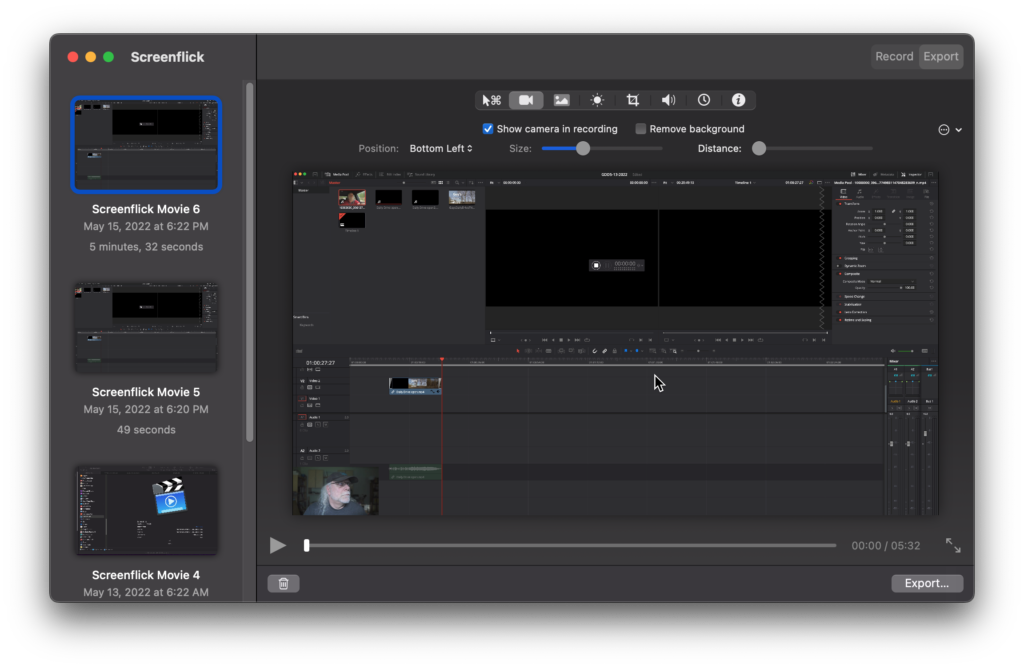
Do you want to show yourself during your recording? Adjust the size and placement in this window and whether or not you want the background to appear.
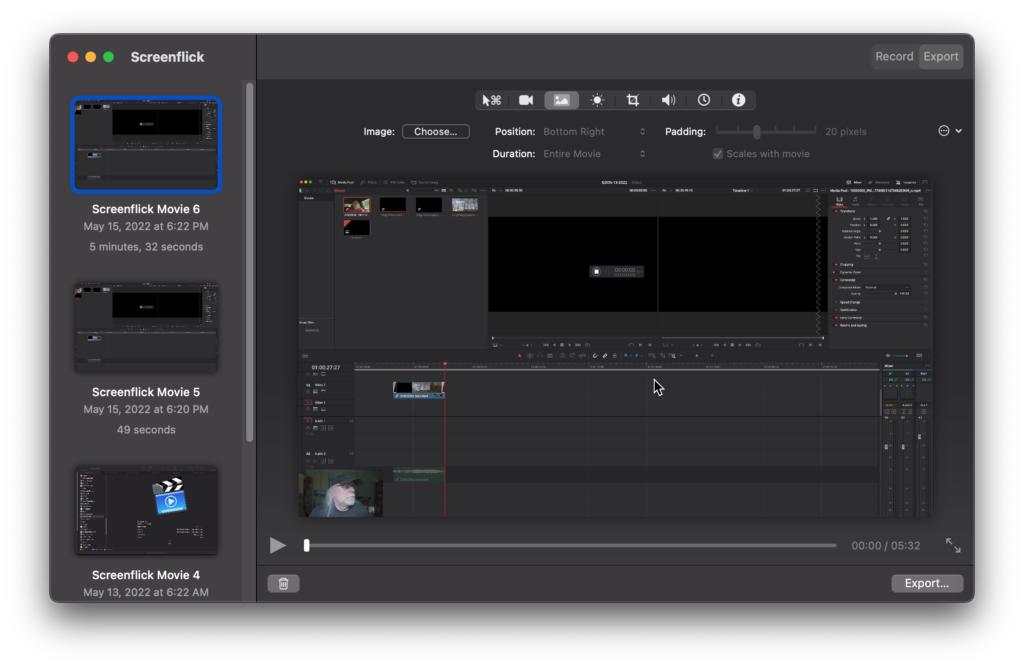
If you would like to add say a logo for your website, you can easily add it here and whether or not you want it there during the entire screen capture.

This is an application meant to pretty much do one thing and that’s screen captures. It does that pretty well and some of its post capture tricks are unique, especially considering its cost. Being able to adjust your image (as well as add one after the fact), cursor size, and keyboard command text after recording without having to do so in a separate video editor is a nice touch, but its resizing and cropping tools leave a bit to be desired. You can easily duplicate the tricks of other more costly screen capture programs if you’re comfortable with a standard video editor. This is a well thought out program and easily worth the small amount of money its developers are asking for it as long as you keep in mind that it’s not going to be as fully featured as some other programs in the same category.
MyMac.com Rating: 8 out of 10
Leave a Reply
You must be logged in to post a comment.