
Vimtag P1 Smart Cloud IP Camera
Company: Vimtag
Price: $129.95
Vimtag Smart Camera P1 Series is a 720P smart cloud camera with remote control and two-way audio for home security and monitoring. The camera can connect to WiFi directly without using a computer. It provides audio video application services which include real-time monitoring and recording storage meeting the consumer needs for monitoring elder, babies, pets and home security. The easy installation taking only minutes to complete and provided high definition video via tablet, smartphone, or computer from anywhere.
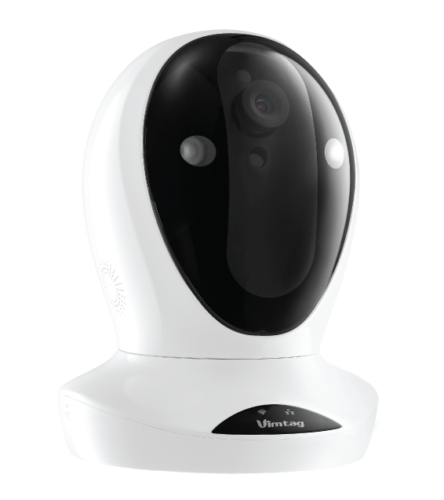
The Vimtag P1Â weighed a little under 12 ounces and has dimensions of 3.58(L) x 3.5(W) x 4.7 (H) inches. The camera specs include H.265 video compression, 50 and 60 Hz light frequency, 25 fps image frame rate, and up to 720P image resolution. It also has image adjustment for brightness, contrast, saturation and sharpness, automation white balance backlight compensation, and night vision distance of 26 feet. Included with the device is a bracket to mount the camera on the wall.
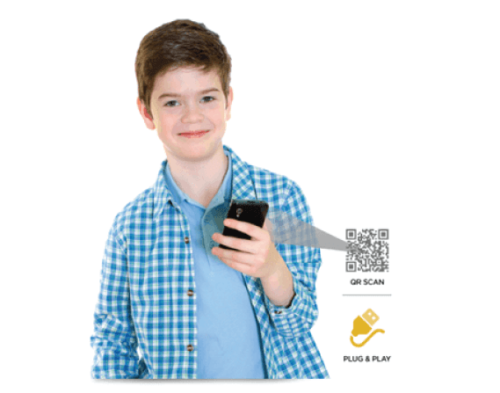
There is a quick installation guide which had a few typos and grammatical errors that did not affect understanding. Quick is not a misnomer. After connecting power to the camera, there are two procedures to complete: Installation of the ‘Vimtag’ app and Connection of the camera. To install the app you can scan the barcode on the bottom of the camera or download the app from the APP store (iOS) or Play store (Android). The app prompts you to register your account and steps you through the WiFi connection procedures.
To connect the camera, after completing the app download and registering your account on your smartphone or tablet, log into the app and enter ‘Device List’ interface. Click ‘+’ at the left top of the interface. A QRCode scanning interface will be displayed. Scan the QR code at the bottom of the camera or manually enter the ID, also located at the bottom of the camera. You have the option of Ethernet or WiFi connection. For Ethernet connection, connect ethernet cable to the camera and your router. After 50 seconds, the wired network indicator flashes green 3 times every 3 seconds indicating connection was successful. For WiFi connection, click the WiFi icon, input WiFi SSID and password, and then click ‘Next Step.’ After a few seconds, the WiFi should be successfully connected.
After successfully connecting the camera, you should be able to log into the app and access the device list by selecting the ‘Device’ icon at the bottom of the screen. This list will display the cameras registered to the account. The cameras are identified by the device ID which you scanned or manually entered during the app installation. Click on the camera video thumbnail to view the video. To pan the camera, you swipe the video in the direction you want to move the camera. The camera has a 360º horizontal turn radius and a 90º vertical turn radius. For two-way audio, click the audio bottom on the video to toggle the two-way audio on/off. You can also store and view videos on an external SD card. There will be a separate video thumbnail for the SD videos in the device list.
Device settings can be accessed from the device listing display. There are setting for to set a nickname for the camera device ID, SD card, storage device, motion notification, scheduling alerting, scheduling recording, day/time setting, and a new system setting. The system setting allows you to manually install updates, restore to factory settings, or restart the camera.
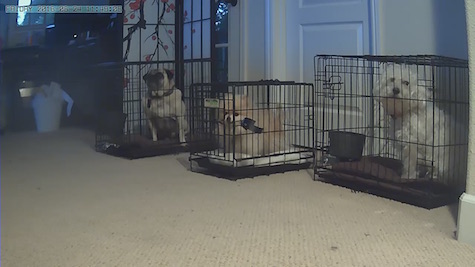
My review model of the Vimtag P1 was put to the test monitoring the sleeping habits of my dog and my sister’s two dogs. It’s amazing how much time they sleep. The audio option was not a hit with them but I imagine if you were monitoring a nanny or elder you could converse with them or listen to determine if there was an issue. The alert and recording scheduling is a convenient option. After enabling the scheduling you can schedule 4 events by providing a begin time, end time, and day. The ease of installation and use, sharp HD images, and stylish design makes this camera a winner for my family.
I can imagine a number of uses for these simple easy to use cameras such as monitoring my porch for UPS deliveries and motion alerts to warn me when my gardener showed up or if he didn’t, to name a few. The fact that you can purchase multipacks of Vimtag cameras to monitor internal and external environments has not escaped my notice.
MyMac Review Rating is 9 out of 10.
Leave a Reply
You must be logged in to post a comment.