

As I mentioned in my first article, a lot of the topics for these articles are going to be coming from help requests I receive from coworkers at my school. We take a lot of digital pictures at work, and I have found myself giving mini lessons on iPhoto recently. iPhoto is a great tool for simple editing of photos, emailing photos, and more. (For more iPhoto instructions, please see Nemo’s iPhoto Ten Point Tutorial #1)
Before you can do anything with a photo in iPhoto, you have to get the photos from your digital camera into your iPhoto library. Your library is like a catalog of all your photos. This couldn’t be any easier!
First, you need to connect your camera to your computer via the USB cable that came with the camera (refer to your camera’s manual). If you have a spare USB port I suggest leaving the camera cable connected to the computer all of the time. Once the cable is connected to the computer, connect the camera to the cable. The spot for this varies from camera to camera, so check your user’s manual if you are having problems. If your computer is not on at this point, make sure you turn it on.
Now turn on the camera. After a few seconds iPhoto will open. This is one of the best features of iPhoto, especially for beginners. If iPhoto does not open, check all your connections, and make sure your camera is Mac compatible.
Once iPhoto is open, it will load and tell you how many images are in your camera. In the lower right corner of the iPhoto window the “import†button will darken. Next to that button will be a check box giving you the option to delete the images off the camera after importing. I keep this option checked so that my memory card is clear when I go to take more pictures.
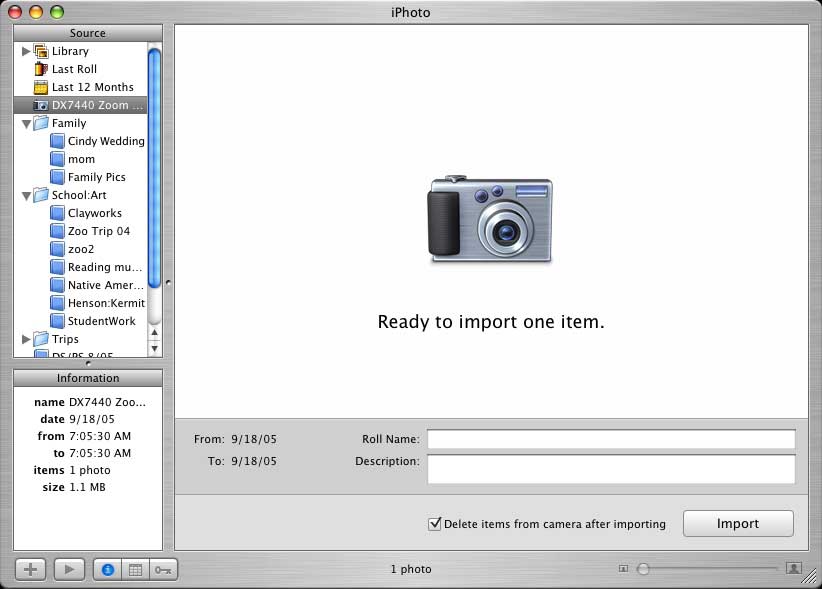
Click for larger image
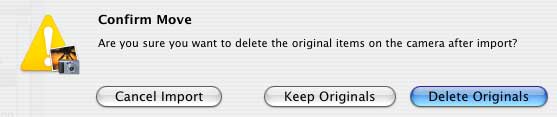
If you were like my aunt, you would leave this option unchecked and buy a new memory card whenever the card is full (not something I recommend). Next click “Import.†If you have the delete option checked you will get a confirmation box asking if you really want to delete the pictures. I always say “Yes.†iPhoto will begin importing all of your pictures. If you are using iPhoto 5, any movie clips that might be on your camera will also be imported.
You will know the import is complete when your screen goes back to your library view. You can now disconnect the camera. This can be a little tricky. If you have a camera like my Kodak, you can disconnect the camera immediately without any further steps. However, some cameras, like my old Nikon, mount a drive on the Desktop. In this case you would need to go back to the Desktop and eject that drive by dragging it into the trash or by one of the other methods I described in my first article “ 3 THINGS A “SWITCHER†SHOULD KNOW.†If you fall into this category, the easiest way to get to the Desktop would be to wait until you are finished in iPhoto, and on quitting you will be returned to the Desktop where you can eject the camera.
Now that you have your photos in iPhoto, you can start having fun with your images. You can turn a photo into your desktop picture, make a slide show, give your photo an old fashioned sepia tone, and more. One of the great features in iPhoto is emailing photos, and this will be the topic covered next time.
But don’t have to wait for me to use iPhoto. Play around with the features. If you mess up a photo you can always go back to the original by going to the “Photo†menu and choosing “Revert to Original.†In earlier versions of iPhoto this can be found in the File menu.
As always, if you have any comments or question email me. I’d love to hear from you. You can also leave your comments in the space below.
***Note: The steps mentioned above will work with any version of iPhoto, but the screenshots and location of icons might differ. ***
Leave a Reply
You must be logged in to post a comment.