
Having a ceiling fan is a great way to improve the air circulation within your home. It also helps enhance the effectiveness of the HVAC unit installed in your home by further dispersing cool air during summer months and circulating warm air throughout the house during winter months. Installing a ceiling fan yourself can be a good DIY project, but you’ll need the proper preparations in order to accomplish the task. The main concerns are about the wirings and overhead box where you get to connect your fan, and the installation of the fan itself.
Nevertheless, once you know the basic installation guide, you can work your own improvisations depending on your home design.
Planning the Location of the Ceiling Fan
Installing the location can be quite tricky, as you need to consider where you can place the ceiling fan for maximum efficiency and with minimum modifications to your interior structure and electrical connections. You can’t just randomly pick a spot on the ceiling and drill your way to get the installation done. If the place you select has an existing fan or light fixture, then the installation will be relatively easy to do. If it’s a new installation where no fixture exists, you’ll also need to consider the structural integrity of your chosen location and the possible support installations like a bracket or a support bar between two joists. Once you have these factors taken into consideration for your fan location, you can then consider the size, and type of ceiling fan your will be installing.
Getting the Fan Ready
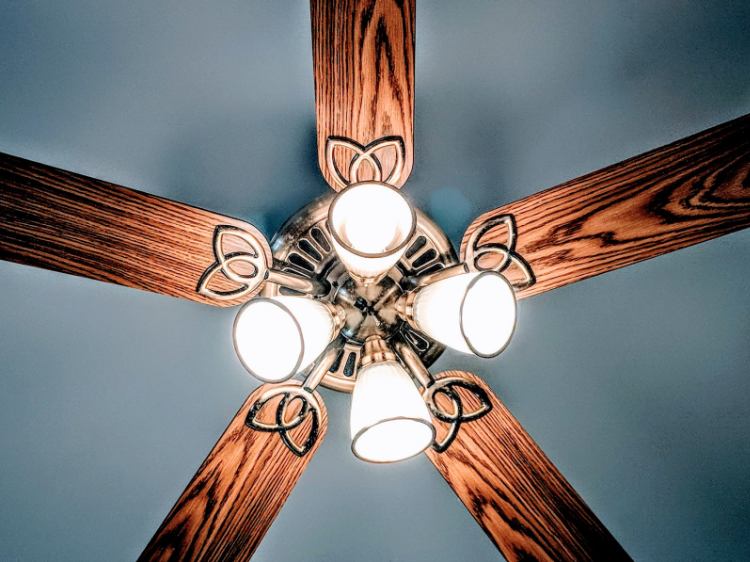
Once you have finalized the location of your ceiling fan installation. You can clearly picture how large or small the fan you will be putting up. When purchasing a new ceiling fan, there are several things you need to consider. Among these are the size, the additional functions, the design and how the fan will be installed. The downrod length will also have to be considered depending on the ceiling height of your home. The fan blades constitute most of the ceiling fan size, so you can choose the size that best meets your air circulation needs. Features like lights, reversible fan rotation, adjustable fan speed and noise suppression should also be included in your list. We included the design factor since this new installation can significantly affect your home’s interior design. You can choose a traditional style fan with multiple LED light bulbs, you can also choose the contemporary style or a luxurious chandelier-inspired design. The installation types to choose from are flush mounting, which is best for low-ceiling houses, hardwire ceiling mount and downrod installation for homes with high ceilings.
Installing the Electrical Box
Your wiring connections will next need to be set for connecting the power supply to your ceiling fan. Make sure that the electrical box that you are using is stamped as being rated for fan support. If you are going to install your fan on an existing light fixture, you’ll need to replace the existing electrical box to the type that is durable and can handle fan vibrations. Carefully fish the wires through the walls and across the ceiling if you are making a new installation. If there is an existing fan or light fixture, disassemble the fixture, undo the wiring connections and unscrew and remove the existing wiring box and replace it with the new box for your ceiling fan.
Installing the Support Bars
No matter how sturdy the ceiling may look, it is always a good precaution to install structural support to keep your ceiling fan installation in place for long periods of time. The weight and vibration of the fan can take its toll on your ceiling, so you need to back it up with support bars. Depending on whether you have access to the attic above the ceiling or not, there are several ways you can install the support bars. If you have attic access, you can screw the support bars to the joists directly. If you don’t have attic access, install an expandable crosspiece with spikes on its ends. Twist the crosspiece to have its spiked ends dig into the ceiling joist and set itself firmly in place.
Installing the Fan
The fan installation and assembly can take several steps, there are simple ways to follow in order to have the installation process go smoothly. Firstly, you need to secure the fan mounting bracket to the installed ceiling box. Ceiling fans come with screws that can be attached directly to the wiring box, and newer models come with rubber or foam pads to reduce vibration and noise. You will then need to attach the decorative ceiling plate over the mounting bracket. Next, you will need to follow the manufacturer’s instructions for assembling the fan motor and canopy. Insert the wires through the cowling and down rod. Then, you can attach the fan to the mounting bracket. Some newer models allow to hold the fan in place while you connect the wiring through a hook that holds the motor up while you connect the wiring. If your fan does not have this feature, you’ll need an assistant to hold the fan in place while you make the connection. Connect the fan’s wiring to your home wiring and secure the connections inside the electrical box then proceed with installing the fan to the mounting bracket. You can then attach the fan blade, light kit and connect the light fixture. The last step will have varying specifications depending on the fan type and manufacturer. You can then test the fan for functions and once you get a satisfactory run, you’ve just completed your project.

Being able to successfully install your ceiling deserves a pat in the back as the project itself takes considerable skill. Keep in mind that safety comes first when it comes to any home installation and modifications, so a little professional help won’t downgrade your accomplishment. You can have an electrician check your wiring prior or after the ceiling fan setup to ensure proper connection and load and to also get recommendations on how to keep your ceiling fan in good working order. Nevertheless, you still have the satisfaction of making a successful home improvement project by installing your own ceiling fan.