

Two weeks ago, I discussed making an album in iPhoto. This week I will be talking about one way to use that album, which is burning a CD of its contents.
Burning a CD in iPhotois a piece of cake. Once you insert a blank CD into your drive, you are two clicks away from burning. Click #1- choose the album you want to burn. Click #2- click the burn icon in the lower right of iPhoto.
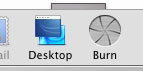
That’s it!
Short article right? Well, I’m not done yet.
Burning a CD in iPhoto has a catch. It is great for archiving and backing up your photos and albums, or sharing your albums with other iPhoto users. Insert the CD into another computer with iPhoto, and it will show up in the iPhoto window under the Library. Then the photos on the CD can be copied to the Library, printed, etc.
However, let’s say you want to burn a CD for someone not using iPhoto, or for use in one of the do-it-yourself photo printing kiosks, or even for developing at a store. Most likely the iPhoto CD will not work. You see, most of these options will have trouble reading the folder layout iPhoto burns onto the CD. To make life easier, these options like a CD with the photo files on them, and nothing else.
Don’t worry, this is easy also.
Once your blank CD is inserted into your drive, click the album you want to burn. For this article, I am going to use an untitled CD. If you want to name your CD, feel free. This time you want to choose export from the Share menu.
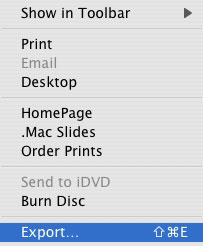
This option can be found in the file menu on iPhoto 4 and earlier.
You will then be presented with a window and several options for exporting your photo. Make sure you have the file tab set, choose .jpgfrom the pull down menu, and choose full size image. JPG is a standard format, and any other source the CD will be used in will “like†your files. Choose full size to make sure you are getting the best quality image possible, especially for printing.
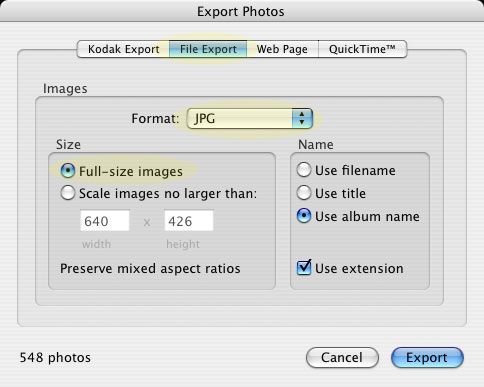
Next, click export. You will be prompted with a save window and you will need to choose where to save the file. In the source list of that window, click the untitled blank CD. Then click export.
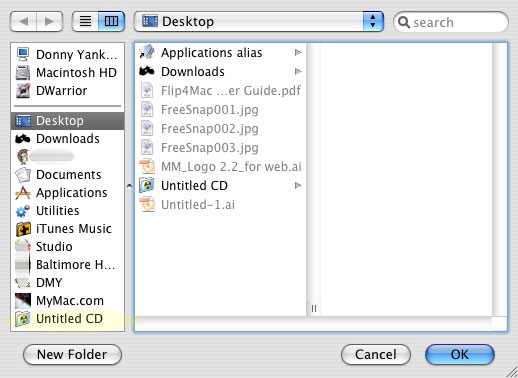
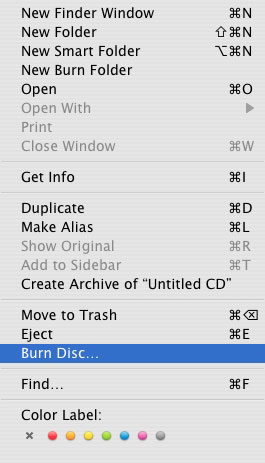
The display will let you know that the files are being exported to your blank CD. Once this is finished, quit iPhoto and return to your desktop. You still need to burn the CD and make the files a permanent fixture on them. To do this click the CD, and then go to the file menu and choose burn CD.
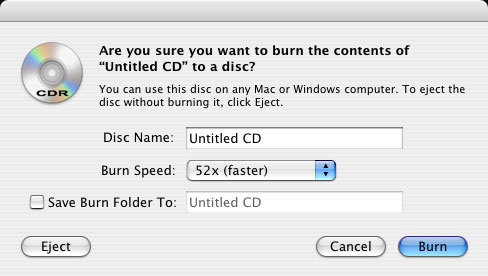
Choose your desired burn speed from the window that pops up, and click burn. Note on burn speeds– slower speeds tend to produce more reliable data. However, with that said, I use the maximum speed 99% of the time. If I have issues, I go back and burn at a slower speed.
Once the burn process is finished, your CD is ready. Eject the CD, and take it to the kiosk for printing, your friend’s house, whatever.
There, now I’m done.
Email me your comments and questions or post them below.
Leave a Reply
You must be logged in to post a comment.