

You have your photos in iPhoto, and now you want to email them to a friend or family member. Using the email features in iPhoto can save you a lot of frustration and time.
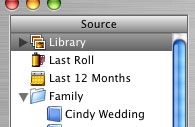
To start, after opening iPhoto, click the “Library†icon on the top left. This will show you every picture stored in iPhoto. To see only the last batch you imported, click the “Last Roll†icon.
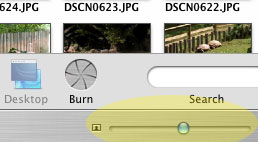
So now your photos are in front of you in little thumbnail versions. To enlarge them, so you see them better, use the slider on the lower right. Move it to the right and the photos get larger, and move it to the left and they get smaller.
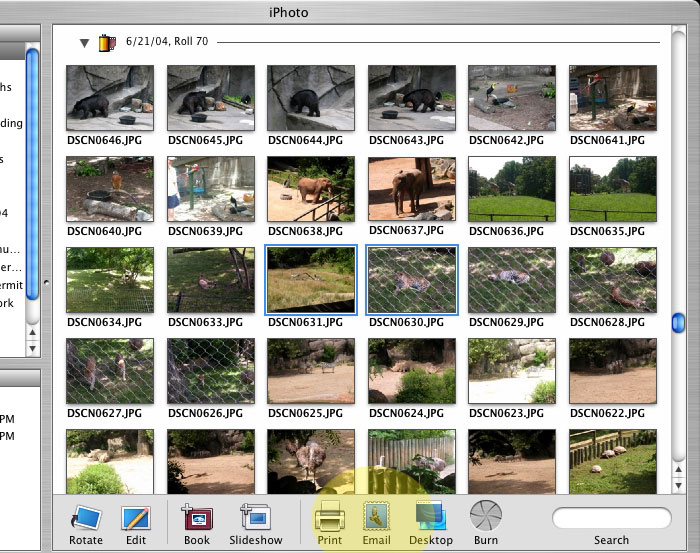
Time to email some photos. If there is only one photo you want to email click that photo. A blue border will surround the image. Next, click the “Email†button at the bottom of the window. If you want to email several photos, hold the Apple Key down as you click the photos one at a time. Each photo you click will gain the blue border. After selecting your group of photos, click the “Email†button described above.

Click for full-size graphic
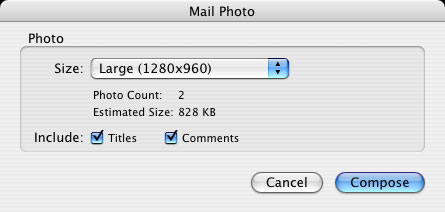
After you click the “Email†button, you will be prompted to select the size of the photos. Unless the person you are emailing requires a high quality image, I suggest using the small setting. The larger settings will cause slower download times, especially for people on dial-up connections. My cousin is always sending my grandmother high quality images that take her forever to download over her dial-up connection.
Next, click “Compose.†iPhoto will then open Mail, start a new email for you, and stick the photo(s) into the email. No fumbling through folders looking for the file to send. All you have to do is address the email, change the subject (if you want), and add a message (again, if you want). Finally, click “Send†and your photos are off! It’s that easy!
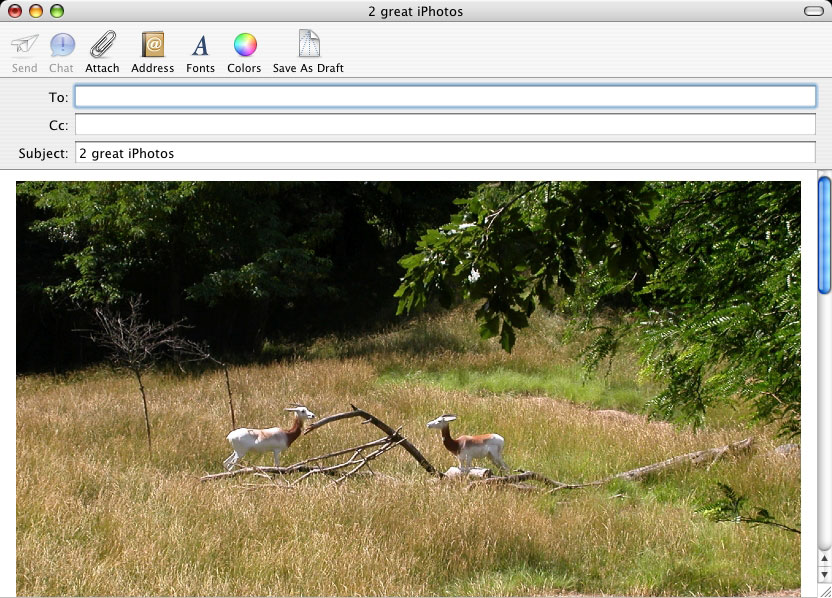
Click for full-size graphic
If you have any questions or comments send me an email. Or post them in the comments section below this article. I’d love to hear from you.
***Note: I am using iPhoto 5 in my screen shots. The steps mentioned above will work with any version of iPhoto, but the screenshots and location of icons might differ.***
Leave a Reply
You must be logged in to post a comment.