
Mac Book Quick Look
Author: David Weeks
Mac OS X Snow Leopard in Depth
OWC 64 GB Solid State Drive and On-The-Go case – Review

OWC’s 64 GB portable Solid State Drive. It’s small, it’s fast, it’s expensive. Is is right for you?
Kanex Mini DisplayPort Adapter To HDMI 1080p Video with Digital Audio – Review

Problem: Getting HDMI out of your Mini DisplayPort Mac
Solution: Kanex Mini DisplayPort Adapter To HDMI 1080p Video w/ Digital Audio
Apple Support Incident Review

My brand-new Mac Pro Quad-Core is D.O.A. How did Apple handle this near-disaster?
The Macintosh iLife
Just like the swallows returning to Capistrano, Jim Heid produces another fine instructional book each time Apple revises its iLife suite. And yet again, he succeeds in assembling what I think is the best instructional book on iLife for the average Mac user. Heid has developed a proven formula, and it works once again with The Macintosh iLife ’09.
Fantom Drives DataDock II Quad Interface 1TB Quad Interface Dual Drive – Review
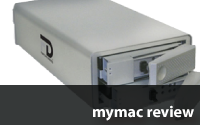
MicroNet’s DataDock II Quad Interface 1TB Quad Interface Dual Drive has a lot of capability under the hood. David Weeks reviews.
Blurb BookSmart book publishing application

Blurb’s BookSmart is a fine competitor to iPhoto’s book creation feature.
G-Raid 3 Quad Interface Dual-Drive RAID 0 Array – Review
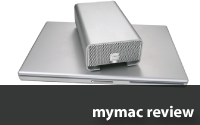
The G-RAID3 stores lots of data in a small case with four interfaces. How does it perform?
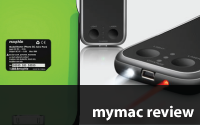
FastMac IV iPhone Extended Battery and Portable Charger – Review
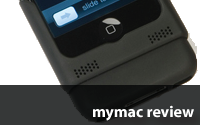
FastMac’s entry in the iPhone battery pack enduro. Can it outlast the competition?
Kensington SlimBlade trackball – Review

Kensington’s new SlimBlade trackball; it’s not your grandfather’s trackball.
Etymotic hf5 High-fidelity  Noise-isolating earphones – Review

Etymotic Research is a heavy hitter in the iPod earbud field. Their hf5 earbuds are a new addition to their wide selection of high-end earbuds. The Weeks Division of MyMac Labs spent some time with the hf5s. Here’s what we found.
Big Book of Apple Hacks – Review

Chris Seibold jumps into the Apple hacks book arena with The Big Book of Apple Hacks. How does it stand up to the competition?
Three iPhone books reviewed
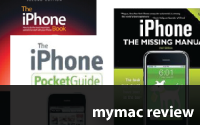
Three well-known Mac authors go head to head. Which of their iPhone books come out on top?
iPhone Battery shootout
MyMac.com Labs iPhone battery shootout: mophie Juice Pack vs. RichardSolo 1800. Which iPhone battery pack is right for you?
Office 2008 for the Mac on Demand – Review
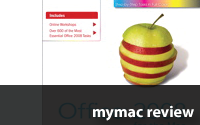
Do you like visually-oriented help books? Office 2008 for the Mac On Demand is worth a look.
How Wikipedia Works – Book Review

Do you have the itch to write a Wikipedia article? It’s more complicated than you may think! This book will show you how.
Two Waterfield Designs slipcases reviewed

Two very different slipcases from Waterfield Designs
CableJive vs. Scosche – Review
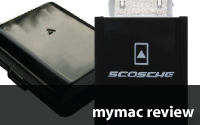
Two iPhone/iPod charge converters compared: CableJive vs. Scosche
BlueAnt V1 Voice Control Bluetooth headset – Review
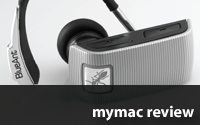
While I’ve long been a cellphone user, I’ve never taken to using a Bluetooth headset. Each time I see a person with one stuck in an ear, my first reaction is that they have some horrible growth on the side of their head, and why don’t they get it surgically removed. However, the Weeks Division of MyMac Labs recently received an evaluation unit of BlueAnt’s V1 Voice Control headset. I swallowed my fashion concerns, and gave the V1 a try during a four-day business trip.
BBEdit 9 – Review

At version 9, BBEdit has more goodies than I thought any text editor could ever contain. Of course, I thought the same thing when I began to use versions 8, 7, 6, 5, and 4. As I mentioned in my BBEdit 8 review, I don’t take advantage of many of BBedit’s programming or HTML features. So, when version 9 was announced, I did not plan to evaluate the many new coding-related features. I wanted to sample the major change to BBEdit 9’s searching powers; a non-modal find window. Read the full review here.