
Adobe Photoshop Elements 10
Company: Adobe
Requires: multicore Intel processor, Mac OSX 10.5.8 or higher, QuickTime 7
Price: $99.99, upgrade $79.99
When Adobe Photoshop Elements 6 was released a number of years ago, I decided to buy it, even though I had no graphics experience whatsoever. I even bought a book to teach me how to use it. Sadly, I used PSE6 mainly to create coupons for my husband’s business, slightly edit screen shots I take for MyMac.com articles, and superimpose faces on other people’s bodies (Don’t ask. It’s silly.) So when the opportunity arose for me to review Adobe Photoshop Elements 10, I jumped at the chance to really sit down and learn about some of the fun and powerful techniques I could use with this software.
Keep in mind that this review is coming from a novice’s perspective. Even though I have used PSE6 in the past, my experience is so limited that I’m still considered a newbie. For a more in-depth review of PSE10 from a user who has an extensive Photoshop background, check out MyMac.com writer Donny Yankellow’s article.
PSE10 is really two programs in one: the Adobe Photoshop Elements Editor and the Adobe Elements 10 Organizer, formerly known as Bridge. Let’s talk about the Organizer first.
Think of the Organizer as Command Central. Once photos are imported, they can be tagged, placed in albums, and tweaked as you would with iPhoto.
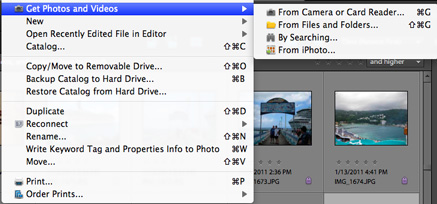
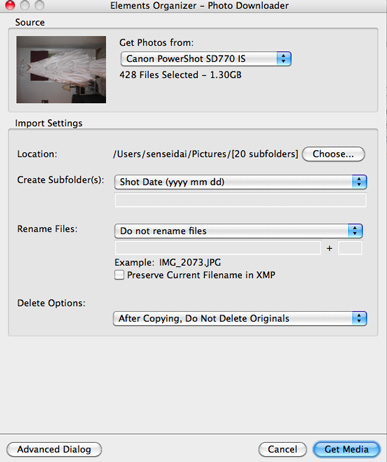
Importing is as simple as going to File–>Get Photos and Videos then choosing the appropriate input method. Getting photos from my Canon PowerShot was super easy. As you can see by the image below, I can choose where I want the photos to live on my hard drive, and I can name the folder and rename the files. If I need more options, clicking on Advanced Dialog will give me even more choices and control over how I import my photos from my camera.
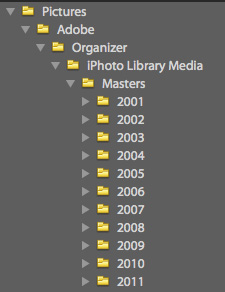
However, there is a caveat when importing from iPhoto. I tried numerous times to import over 6700 photos into the Organizer, and each time the import failed. Turns out I had two photos the Organizer didn’t like; they weren’t corrupted as far as iPhoto was concerned, but maybe they were to the Organizer. If you run into this problem here’s the workaround: in the upper right corner of the Organizer, click the drop down triangle next to Display and choose Folder Location. The left side of the screen will show the hierarchy of your computer. Scroll to your Your Home Folder/Pictures/Adobe/Organizer/iPhoto Library Media/Masters. Under Masters your photos are separated by year. Right click or control click on each year and choose Import to Elements Organizer. Do this for each year until you find the corrupted photo. Then you can delete it from the Adobe folder and iPhoto and reimport that year. I didn’t delete them completely from my hard drive; I dragged the offending photos to my Desktop then deleted them from my iPhoto library. Once my photos were in the Organizer I put the “corrupted” photos back in iPhoto. Yes, it’s a bit of work, but it’s only necessary if importing your iPhoto library fails.
Note that when importing photos from iPhoto, Adobe makes a copy of each photo. If importing from a folder, Adobe uses a pointer to that photo. Make sure you have enough hard drive space before importing from iPhoto.
Now that your photos are happily in the Organizer, what’s next?
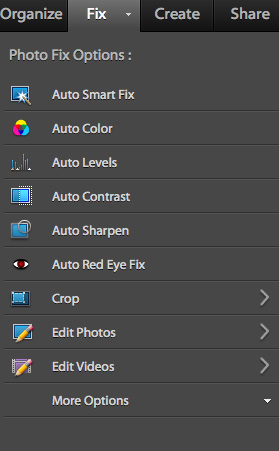
As with iPhoto, photos in the Organizer can be placed in albums and tagged. Create keyword categories, complete with a small photo icon that represents that keyword. Auto Smart Fix, Crop, Red Eye Adjustment, and Sharpen are a few of the options available to quickly and easily edit a photo. More intense editing will open the Adobe Photo Elements Editor.
If your photo collection is large like mine, then you know that sometimes it can be hard to find the exact photo you’re looking for, even with tags and albums in place. New to the Organizer are some great search features. Say you’re looking for all the photos of your dog or photos that have the color green in them. Use the Object Search or Visual Similarity Search to more easily find those important photos. The Organizer can also help locate duplicate or near-duplicate photos that can be either deleted or grouped together.
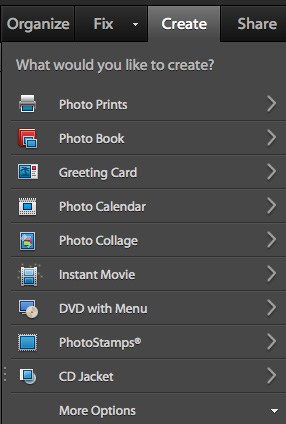
Once you’re happy with your photos, it’s time to create a project or share with the world. Both can be done through the Organizer or the PSE Editor. Options include ordering prints from online services, designing a greeting card or calendar, and my favorite, putting together a photo book.
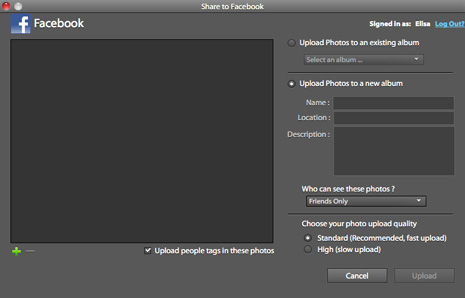
Facebook users will find it even easier to share photos with their online friends. Authorize the Organizer to download your Facebook friend list, tag your friends in photos, then upload to Facebook. I found it to be a very simple process.
Adobe Elements 10 Organizer is a full-featured program unto itself. There’s plenty of built-in and online tutorial help for the Organizer, including a wonderful resource called Elements Inspiration Browser, which consists of videos and PDF’s showing how to use Organizer or Photoshop Elements features.
So far I’m loving the Adobe Elements 10 Organizer. While I won’t be giving up iPhoto any time soon, I’ll be using it in conjunction with the Organizer. There’s so much more I haven’t even mentioned, and I’ve barely scratched the surface of what I can do with the Adobe Elements 10 Organizer. I’m looking forward to learning.
I’ll talk about Adobe Photoshop Elements 10 Editor in Part 2 of this review.