Download the show here, or subscribe to us in iTunes!
We have a winner of the NewerTech Voyager! Congrats go out to Randy Cowling! Also, Sam Levin drops by for a long-overdue Cool Mac Picks, David, Guy, Mark, and Tim look at the Palm Pre and the Pystar story. Finally, Mark and Tim review the JBL SoundStage 400P.
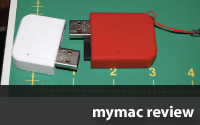
Check out the Voyager from Newer Technology
Review our show on iTunes Please!
Links from the show:
Uniea Omniverse sleeves & pouches
Pure Digital Flip Ultra HD Camcorder
Western Digital WD TV HD Media Player
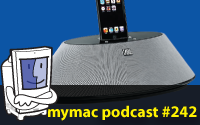
JBL SoundStage 400P
Palm Pre