
I took a bunch of pictures of my extended family last May, when we celebrated everyone’s birthdays together because we only convene once each year. Gifts galore were given and received, with more fun and less fanfare than during a certain well-worn holiday season that shows up every December.
We’ll use photos of my brother, mother, doggie, and brother-in-law during this exercise in improving family pictures taken indoors. The images have been cropped and gently enhanced. I used Adobe Photoshop Elements 2’s Levels adjustments to perform all edits, because Elements is a consumer application that many cross-platform readers can relate to. All changes could have been done using iPhoto, Aperture, or any recent version of Adobe Photoshop (Elements or professional), so YOU TOO can have great family photos.
* * * * *
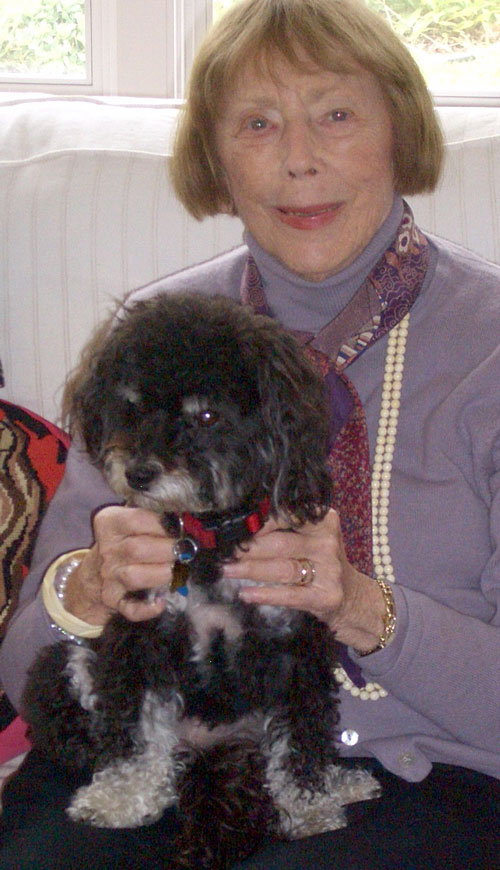
1 = VERTICAL CROPPING
I lightened and cropped this vertical portrait of my mother and poochie to emphasize the nice expressions on both their faces, and to get rid of extraneous elements on the left and right. People are often vertical, so turn your camera 90 degrees to frame your vertical portraits whenever possible. Notice the bright highlights in three eyes and on my mom’s jewelry and sweater button, that are more evident in the cropped version than they were in the bland original.
* * * * *
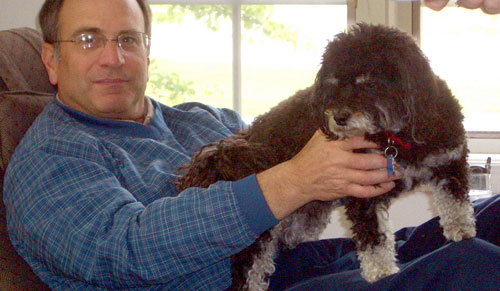
2 = HORIZONTAL CROPPING
I’m sorry I had to chop off the top of my brother’s head, but cropping was severe here to concentrate on the subjects and eliminate so much excess garbage in the outer frame. I brightened up the photo using Levels, and did some basic Photoshop Elements Sharpening, which is a Filter. Because the person is sitting, this portrait is a perfect horizontal. The overexposed background is less distracting with the primary subject brightened and emphasized.
* * * * *
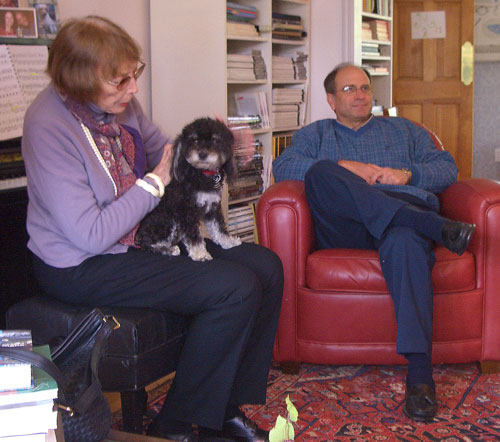
3 = SQUARE CROPPING
It’s not a true square, but by removing right side room furniture and window, we’re now able to see the visual relationship between grandma, son, and dog. A little, but not much, brightening and sharpening were applied. Square or squarish pictures can be tricky to frame, but when the subject dictates that shape, make it work. Future tutorials will address how to get rid of those green leaves and books at the bottom of the frame, with Photoshop’s amazing Clone Stamp.
* * * * *
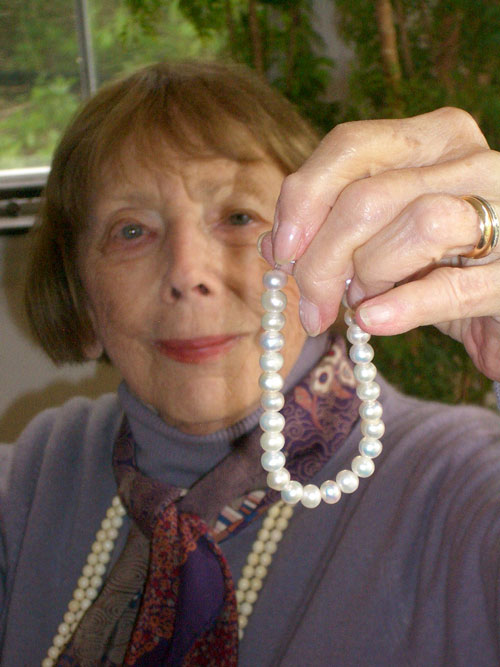
4 = SELECTIVE FOCUS and FILL FLASH
This photo is full-frame, with no cropping and only a tiny bit of brightening. My mother’s disembodied hand is holding pearls she just received, with her upper body in the background. Pearls and fingers are in focus, illuminated by my Casio camera’s built-in flash. A shadow is on Mom’s face from the strand of pearls. I could have set up this picture using my professional equipment and spent two hours fine-tuning it, but not achieving the combination of selective focus and fill flash on pearls + fingers that happened using auto-everything on the Casio. Note the tiny reflective highlight in her right eye. Pure dumb luck, Nemo.
* * * * *
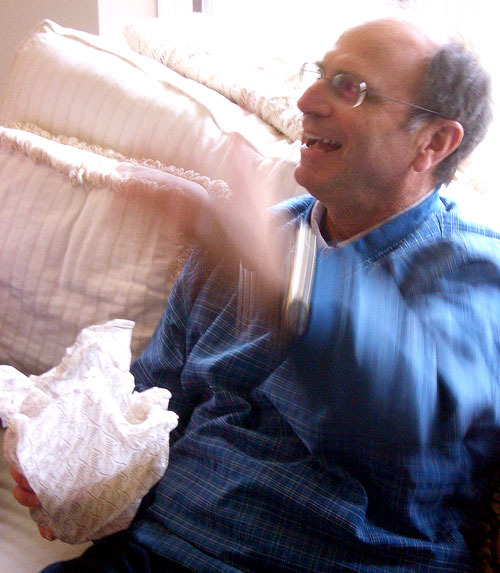
5 = BLURRED MOVEMENT
Cropping and darkening are obvious modifications to boost contrast and concentrate this view of my brother. The way to achieve blurred motion is to hold camera steady, make sure auto flash is turned off using the lightning bolt button on the camera, and get lucky. Most of the time these photos look stupid because the entire subject is in motion, but here only his arm is moving, so we sense dynamic activity from a static image.
* * * * *
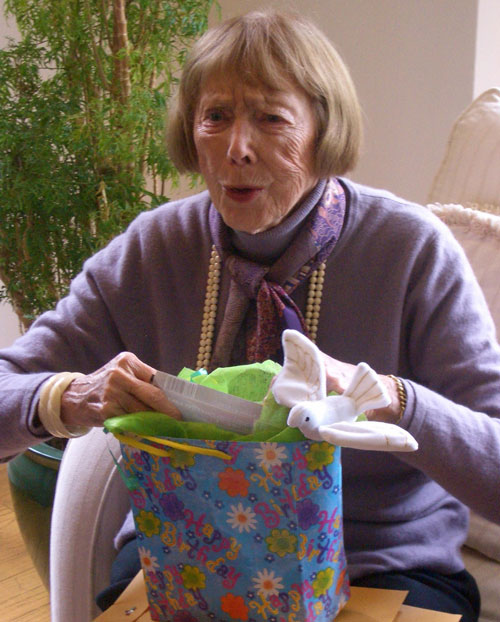
6 = NATURAL BACKLIGHTING
Again make sure your flash is turned off, with your subject’s back to the window or other moderate (not too strong) light source. The window can’t be in your image frame. Some top and bottom cropping was used and I boosted the contrast a tiny bit via Levels, but the essence of the original photo remains. Mom is opening her gift bag, and she’s exclaiming with gusto. Notice how the back + side lighting add clarity to the strands of her hair, her attractive wrinkles (don’t take me out of the will, please, Mother), plus the arms and shoulders on her sweater. If this was a professional portrait, I would brighten her face and eyes somewhat, but I like the honest, natural, indirect illumination in this semi-action portrait.
* * * * *
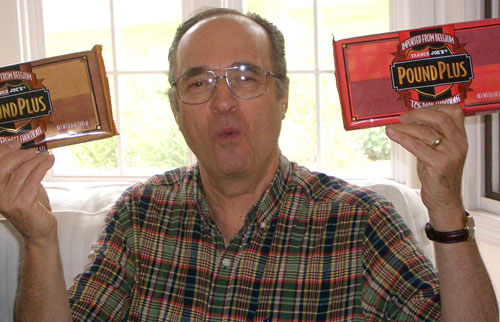
7 = SINGLE PLANE FILL FLASH
I did cropping at top and left to clean up the composition. I made sure the flash was on this time, or my brother in law would have been in the dark with that bright window behind him. Reflective glare off his glasses and chocolate wrappers is annoying, but unavoidable. Photoshop’s and Elements’ Clone Stamp tool can help get rid of those hot spots. His expression says it all, and is worth any minor technical annoyances.
* * * * *
8 = NATURALISTIC SKIN TONE
Cropping is minimal here. Levels adjustments in Photoshop and Elements can bring out rich skin colors, with a minimum of tweaking. My brother looks faded and sickly in the original, and strong and healthy in the improved version. It’s interesting how the lighting in almost every picture in this series is dominated by those windows behind the subjects. Strong backlighting often wrecks photos, but this day it worked to my advantage, helped afterward by software editing tools.
* * * * *
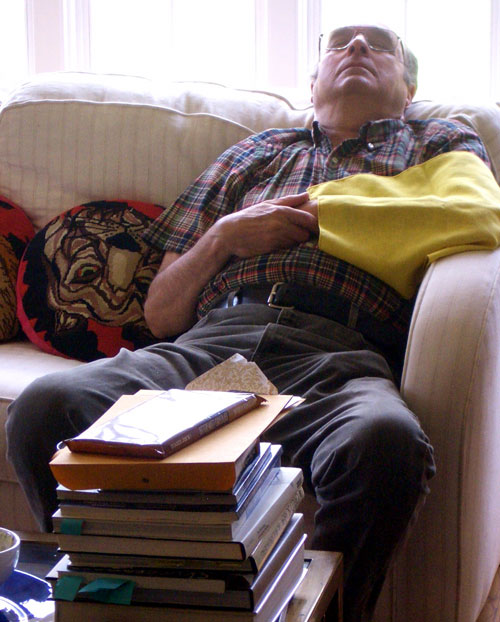
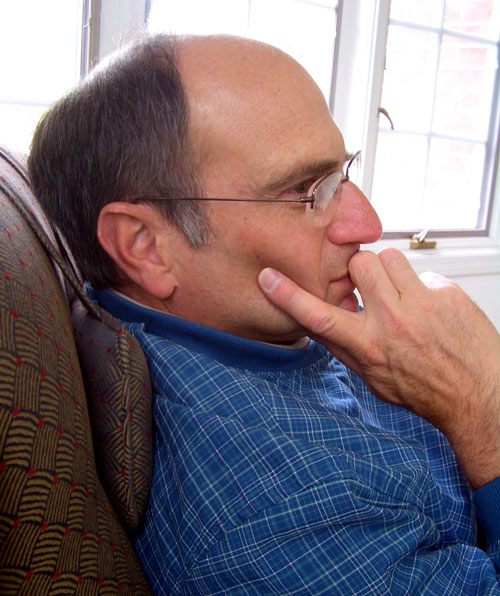
9 = STRANGER THAN FICTION
When the festivities and chocolate bars wore him out, my brother-in-law fell asleep on the spot. This photo needed little cropping and darkening. Once again our friendly backlighting does its magic, this time cutting off the top of his head above the eyebrows. There are a lot of compositional, design, and illumination components to this seemingly banal photo, but the zinger is his missing cranium.
* * * * *

10 = GET THE RED OUT
Mom has been a Chicago Cubs fan for – a – v-e-r-y long time. Hint: the solar system was once young too. My sister-in-law had this jacket in her closet for nearly thirty years, and needed to find the perfect recipient for it. Guess who lobbied hard to take it home? Go Cubs, Mother! You can’t see the original photo, but her eyes were red from my flash. Photoshop’s and Elements’ Red Eye Brush Tool darkened her eyes with a couple of clicks each. Cropping and contrast enhancement via Levels took care of composition and tonality. I especially like those variegated shades of blue on her jacket, produced by the Casio’s flash.
* * * * *
Taking halfway decent pictures of family and friends is always tricky. Stick with it, use lots of vertical framing, throw out your worst images, and spend time with the ones that have potential. Learn how to use your different flash settings. Have your camera strap on at ALL times.
Adults are easier than children when you’re learning, but kids are a blast once you are comfortable with technique and timing. Make sure your camera has little or no shutter lag. Your family won’t kick you out when they become tired of your snapping, but don’t go overboard. Try one or two of these suggestions above, and soon you’ll be getting very good indoor people pictures.
Leave a Reply
You must be logged in to post a comment.