

Here’s a quick little Automator action you can put together if you want a way to automatically create a new folder that gathers a batch of selected files you’re selected in your Finder, most preferably on your desktop. I could easily post the action for you to download, but by creating it yourself you’ll discover several other similar Finder actions in Automator that might save you time.
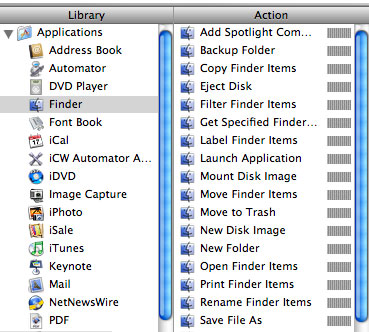
1. Open Automator and select Finder on the far left column. In the Action column, find New Folder and drag it into Workflow window.
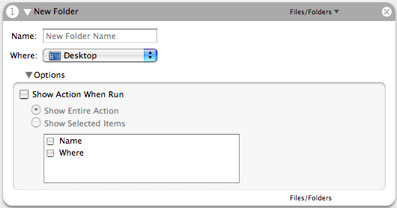
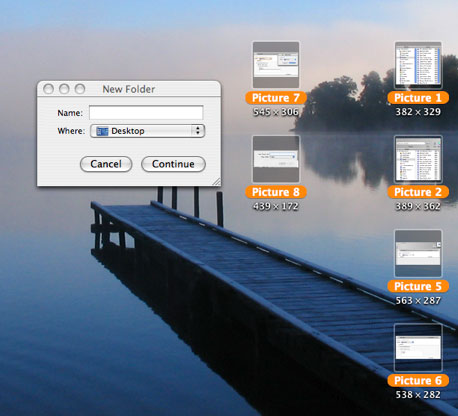
2. Click on Options at the bottom of the Action. By selecting Show Action When Run, you will be able to select and name your new folder of items and choose where you want it filed away. If you want an action that creates a folder with a particular name every time you use it, then simply type the name of the folder in the Name box and leave the Show Action When Run deselected.
3. At this point, if you want to take the action for a trial run, grab a file from your desktop and put it into the Workflow window right above the New Folder action. Click Run and it should take you through the steps you’ve set up.
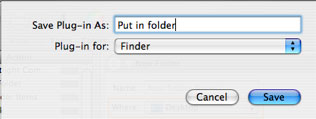
4. If you set up the action correctly, now it’s time save it as a Finder action. While still in Automator, go to File>Save As Plug-in. Type a name for your Action, such as “Put in folder.” Click save.
4b. At this point instead of saving this Action as a Finder plug-in, you could save it as a Folder Action, which is one of the other five Plug-ins you can choose at this point. If you do so, simply go create a new folder on your desktop, title, and then go back to Automator and select Folder Actions from the menu. When it appears, select Attached to Folder and locate the new folder you’ve just created on your desktop. Click save.
If you choose to create Folder Action, you don’t need to go to steps five or six. Now you simply select your files all at once, drop them into Action Folder and, viola, a new folder will automatically be created that you can name for the items in it. A seriously sweet timer saver.
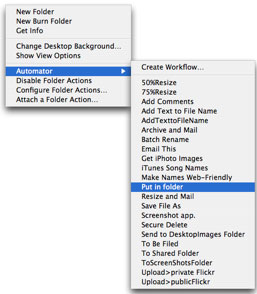
5. Now when you want to use this or any other Finder plug-in, simply select the folders you want to put into a folder. Control click on one of the selected folders and a Contextual menu will pop up. Scroll down to where it says Automator, select it and select the new Action that you’ve created. This is how you will get at all your Finder Automator plug-ins. As you can see, I’ve created several Plug-in Actions to save time.
6. Finally, after you select the Action, your Mac does its thing. It’s that simple.
After you’ve done this Action, check out others. There’s an Action for example to batch rename or add a name to a bunch of Files. There’s also a Save File As action that will save you a little time.
If you’re new to Automator, you’ll think it’s like working in AppleScript, but it’s not. Once you create a few simple Actions, you’ll want to do more. Of course there other more advance Actions and Workflows out there, but easy place to begin is with Finder Actions.
Leave a Reply
You must be logged in to post a comment.