

You have your desktop tweaked with custom icons and custom images, now you might want a screen saver. There are several options for setting the screen saver on your computer.
Most of the screen saver settings occur in the system preference called Desktop/Screen Saver (the same one used last week in my article “Change that Desktop Picture“). To get here go to the Apple Menu, choose “System Preferences” and click “Desktop & Screen Saver.” Make sure the “Screen Saver” tab is selected.
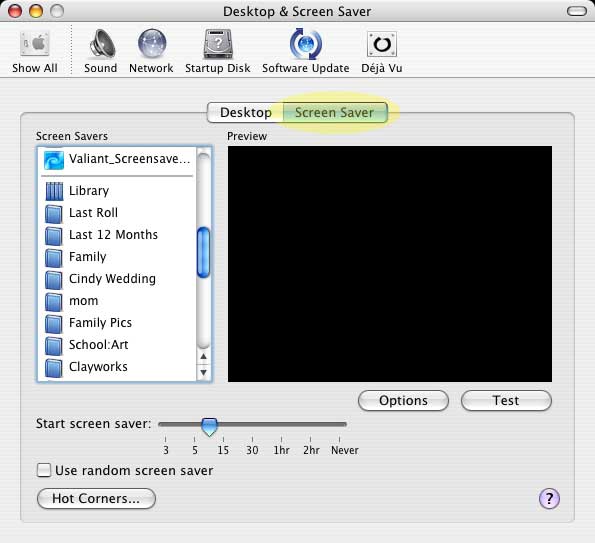
As was the case with the desktops, there are several preinstalled screen savers you can choose from. To see each one click the title, and watch in the little preview window on the right. To see it at full size, click test. The screen will activate, but by moving the mouse you’ll return to the preference pane. (see image above)
Clicking “Options” will present you with different ways to customize how the screen saver is displayed. For example, my aquarium screen saver lets me choose the fish I want swimming on the desktop. (This was a screen saver I installed, it is not built in.) These options can vary by screen saver, so I will not go into detail about them.
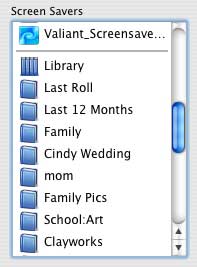
You probably noticed that in the windows with the screen savers are your pictures from the iPhoto library. You can choose them as a screen saver also. By choosing one of the folders/albums you will get a slide show of these photos for your screen saver.
At the bottom of the window you can set how long the computer sits idle before turning the screen saver on. You can also set the screen saver to be chosen randomly each time. You also have “Hot Corners.”
“Hot Corners” presents the option of setting the corners on your monitor to turn the screen saver on, or disable it. When you click “Hot Corners” you’ll be presented with a display of the screen and a pull down menu for each corner. When you click a menu you can choose set corner to turn on the screen saver, or disable it. Maybe the computer is doing something that you don’t want the screen saver to interfere with. If so set a hot corner to turn off the screen saver. When you walk away from the computer move the mouse to that corner, and the screen saver will not turn on.
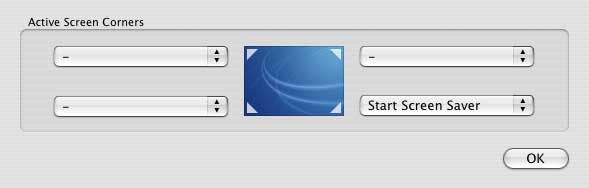
You will also see options for “Expose” in the pull down menus. A fabulous feature introduced in Panther (actually the feature that sold me on Panther). We’ll save that for another time.
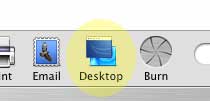
You can also set your screen saver using iPhoto. When in iPhoto, click one of your albums, or make an album with a group of photos you want to be in your screen saver. Click the album, and click the “Desktop” icon. Instead of changing the desktop image, the album will become your screen saver in the slideshow format.
Don’t like any of these options for a screen saver? You can find a bunch of OSX compatible screen savers on the Internet. Many movie sites have screen savers promoting that movie. Most of these screen savers have an installer or directions for installing. Unless it is a stand-alone program, the screen saver you just installed will appear in the preference pane I described above. Just select the new screen saver from there, set the options to your liking, and you’re good to go.
So if you are keeping up with this column, you can now change icons, desktops, and screen savers – three great ways to customize the look of your display. Next week, I’ll switch gears and discuss something totally different. Until then email me your comments, or post them below.
Leave a Reply
You must be logged in to post a comment.